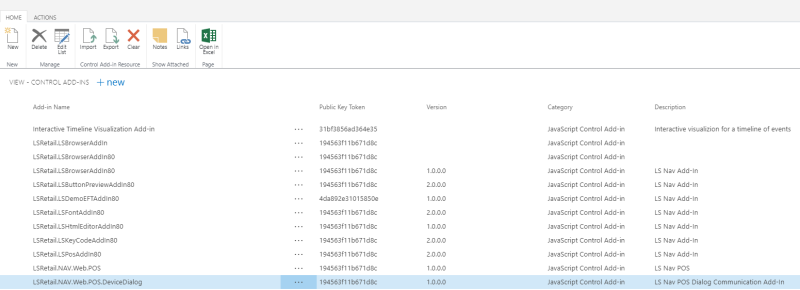
- To import the LS Nav Web POS Add-in manually in the Dynamics NAV Windows- or Web Client, open the Control Add-ins page and click New. Enter the following data in the new line:
- Add-in Name: LSRetail.NAV.Web.POS
- Public Key Token: 194563f11b671d8c
- Version: 1.0.0.0
- Category: JavaScript Control Add-in
- Description: LS Nav POS
- An additional Control Add-in should now be imported along with the original Web POS Add-in. It should have the same data as the Web POS Add-in, except the name LSRetail.NAV.Web.POS.DeviceDialog. The resulting data will then be:
- Add-in Name: LSRetail.NAV.Web.POS.DeviceDialog
- Public Key Token: 194563f11b671d8c
- Version: 1.0.0.0
- Category: JavaScript Control Add-in
- Description: LS Nav POS Device Communication Add-in
- Select the new LSRetail.NAV.Web.POS line and click Import. Choose LSNavWebPOS.[*].zip to import the LS Nav Web POS Add-in resource file. The [*] represents the Add-in version number.
- Select the new LSRetail.NAV.Web.POS.DeviceDialog line and click Import. Choose LSNavWebPOSDeviceDialog.[*].zip to import the Device Dialog Add-in resource file.
Note: Both zip files are installed with the LS Nav Client Components Toolbox and are located, by default, in [Program Files (x86)]\LS Retail\NAV.